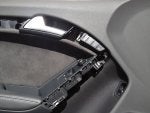
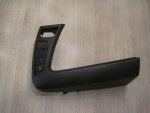
Ok, following several requests here's the brief DIY on retrofitting the driver's seat memory panel in the door. This will enable two directly accessible memorized seat positions (not via key fob as discussed many times before).
Note: this DIY is for LHD A5 Coupe equipped with driver's seat memory module J136 (check its presence using VAG-COM beforehand).
Parts required:
8T0 959 769 V10 seat memory panel E97 (LHD driver side) 1 pcs.
8T1 959 527 A7PE seat memory panel surrounding frame (LHD driver side) 1 pcs.
8L0 971 883 connector T8x 1 pcs.
000 979 009 E connector wire 7 pcs.
7L6 868 243 spare door panel clip 3-5 pcs.
If the car doesn't have J136 memory module, it has to be also installed.
Tools required:
VAG 3409 plastic wedge
VAG 3392 panel pliers
torx screwdriver
soldering iron / insulation tape
VAG-COM
I strongly recommend using wedge and pliers, otherwise it's extremely easy to damage the door trim.
Basically, the task is to install the seat memory button panel E97 and connect it to J386 driver's door control module. Perfect instructions on how to do particular steps right may be taken from ELSA shop manual.
The main steps are:
1. Remove door decorative trim using wedge
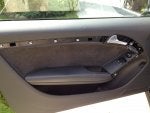
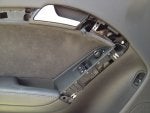
2. Remove door armrest front/bottom trim using wedge and large flat screwdriver. Disconnect wire from door lock switch E150 (pics 1, 2)
3. Undo five screws holding the door panel with torx screwdriver
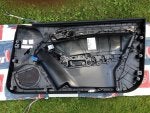
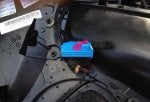
4. Unclip and remove door panel using pliers (pic 3). If done carefully most clips may be re-used, otherwise replace with spare ones. Disconnect T32j connector (pic 4) and door lock rod
5. Assemble wire harness connecting E97 to J386:
- 6 complete wires (signal) connect T8x on E97 to T32j on J386. Pins 1-17, 2-19, 3-15, 4-14, 7-7, 8-2
- 1 split wire (illumination) from T8x pins 5 and 6 should be connected to door illumination wires (brown and blue/brown). I've chosen to cut in at E150 (pic 5) connector using soldering iron
6. Connect T8x to E97, install E97 in the door panel (pic 6)
7. Put the door panel and decorative trim back in reverse order
8. Install the new seat memory button panel surrounding frame (don't forget to re-connect the E150 switch)
9. Perform some VAG-COM coding:
[42 – Door Elect, Driver]
[Coding - 07]
[Byte 4]
Bit 1 = 1
[36 – Seat Mem. Drvr]
[Coding - 07]
[Byte 2]
Bit 1 = 1
10. Check the memory function according to car manual. Enjoy!


